Cooking a perfect cast iron skillet steak at home is incredibly easy. You can replicate a restaurant quality steak with just a few items; namely a quality cast iron skillet, a decent cut of meat, kosher salt, and clarified butter. The methods we explain are so good that you don’t need an expensive $20-30/lb steak to achieve a great result — a cut under $12/lb will do just fine. We know this because the best steakhouses in the world use the exact same techniques and ingredients that we outline below.
Shown below are the ingredients that you’ll need to get started.
Ingredients:
- 3/4 – 1lb ribeye or sirloin steak
- 2 – 3 tbsp kosher salt
- 3/4 – 1 tsp clarified butter
- 1 tsp fresh ground black pepper
- olive oil
- finely chopped parsley
Step 1 – Purchase a Quality Cast Iron Skillet
There are a few key reasons you want to use cast iron vs. any other material for a perfect cast iron skillet steak. The first and most important is heat transfer / conduction. Cast iron concentrates heat throughout the surface vs. in one place which allows for more even cooking to achieve a perfect crust. Additionally, cooking a steak requires a super high temperature (260 °C / 500 °F). As a material, only cast iron will allow you to cook at these high temps without burning and give the steak a consistent heat transfer. Lastly, cooking on a cast iron skillet allows the steak to cook in its own juices which adds even more delicious flavor. The cast iron surface helps sear these juices into that delicious crust that’s formed. We love cooking steak on a grill but all of those juices are lost as they fall through the grates.
In terms of quality, you don’t need to break the bank to find a decent skillet. We’ve included three recommended ones below that range in price. The more expensive skillets feature a more polished finish that is going to give you a better sear. We went with a flat surface vs. ribbed as a flat surface makes the braising process easier. A ribbed surface is similar to a grill and gives you those great sear marks / lines but it will make the finishing processes (braising) more difficult.
T-fal Pre-Seasoned Nonstick (12″) Cast Iron Skillet – $24
Lodge Seasoned Cast Iron Skillet (10.25″) with Hot Handle Holder – $61
Le Creuset Signature (11.75″) Iron Handle Skillet – $199
Step 2 – Purchase a Decent Cut of Steak
Note that we said DECENT. We love grass fed, dry aged beef but without the right cooking method these pricey cuts are a waste. Once you’ve perfected the techniques, you’re free to try more expensive, premium cuts. Our goal today is to show you how you can achieve a delicious, perfectly cooked steak without breaking the bank.
What you want to look for is the following:
1) Marbling – a decent amount of fat lines throughout. Marbled fat through the muscle is what gives steak it’s flavor
2) A Decent, Thick Cut – about 3/4 – 1″ decent is what you’re after. If you go thicker or thinner, the cooking technique is going to be different
3) A more pinkish vs. red hue (deep red indicates excess water / moisture within the meat)
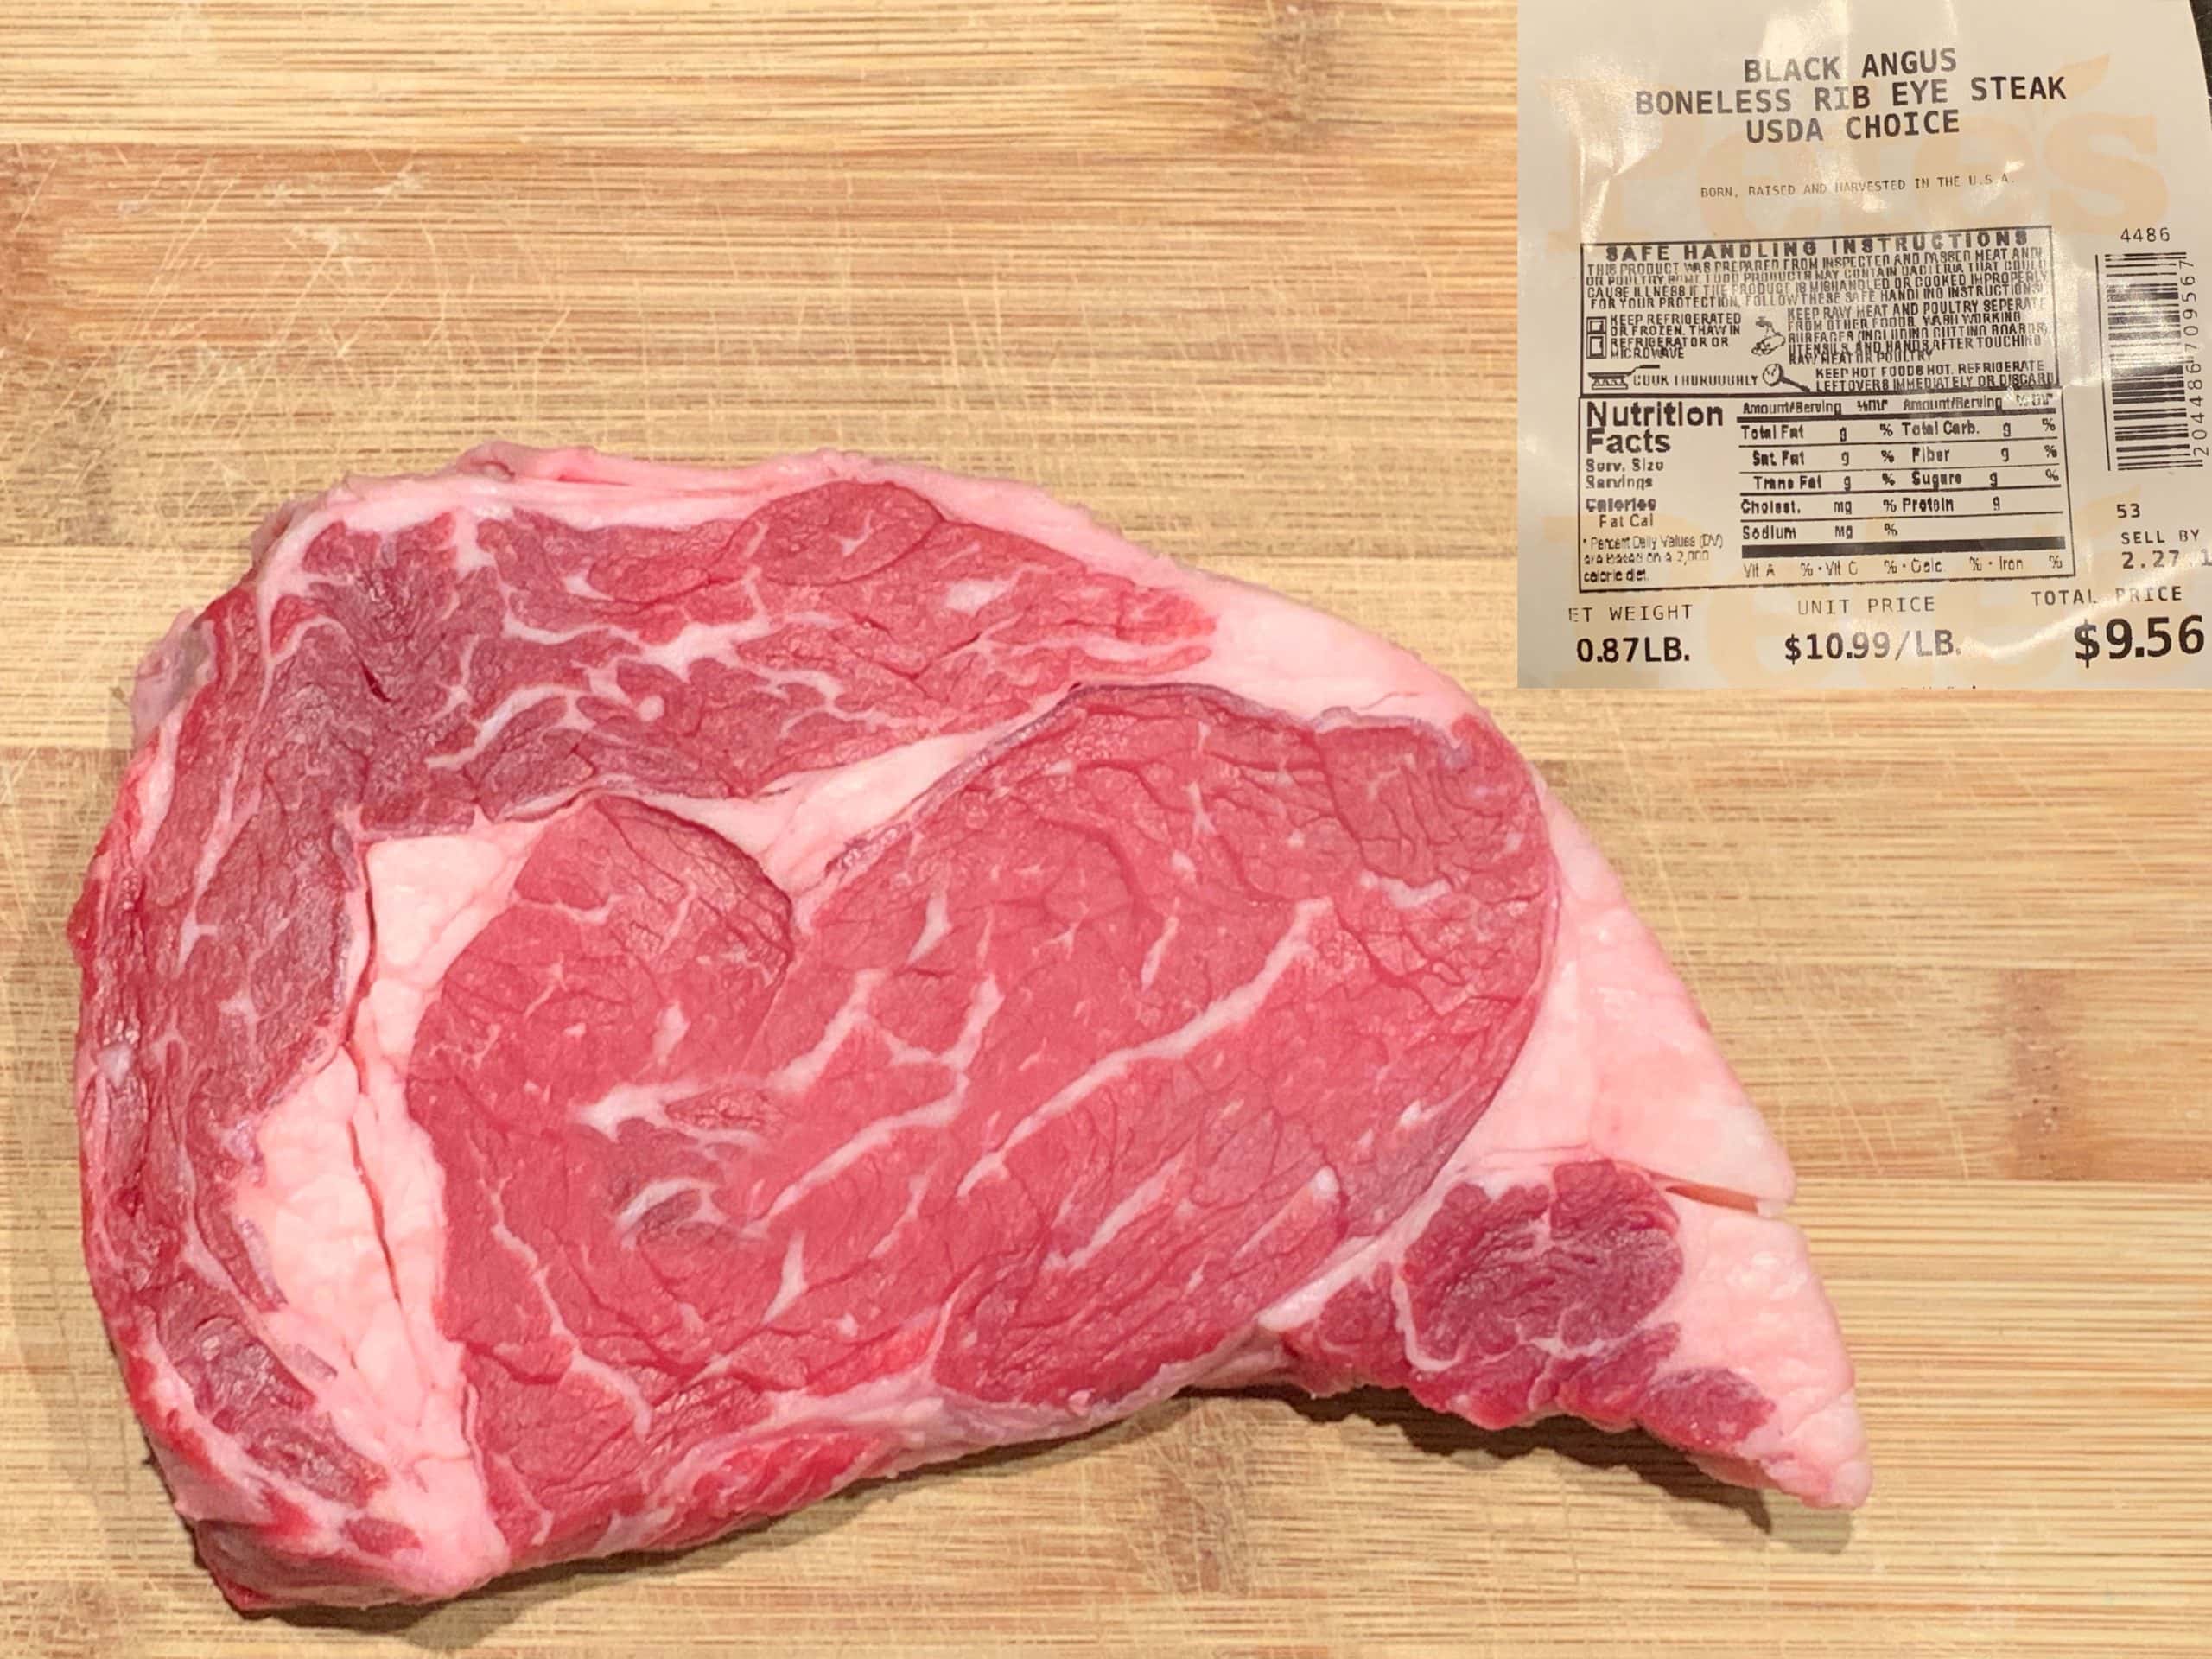
In terms of cuts, we love ribeyes and sirloins. Fillet mignons work great as well (though they can be a bit pricey). Each cook beautifully, have a buttery texture, and can be very affordable if you know what to look for. If you’re in North America, black angus is the type of cattle / beef you’re more than likely to find. The steak below is a great example of what to look for and cost us just under $10. Notice the pinkish hue and the white fat marbling throughout.
Step 3 – Preparation
After you’ve purchased the steak, you want to pat it dry with a paper towel. The goal is to remove as much moisture as you can before it’s cooked. To put it simply, a dryer steak is a better tasting steak. Once this is complete, let the steak sit at room temperature for a minimum of 30 minutes. You want the steak to be as close to room temperature as possible before it hits the pan.
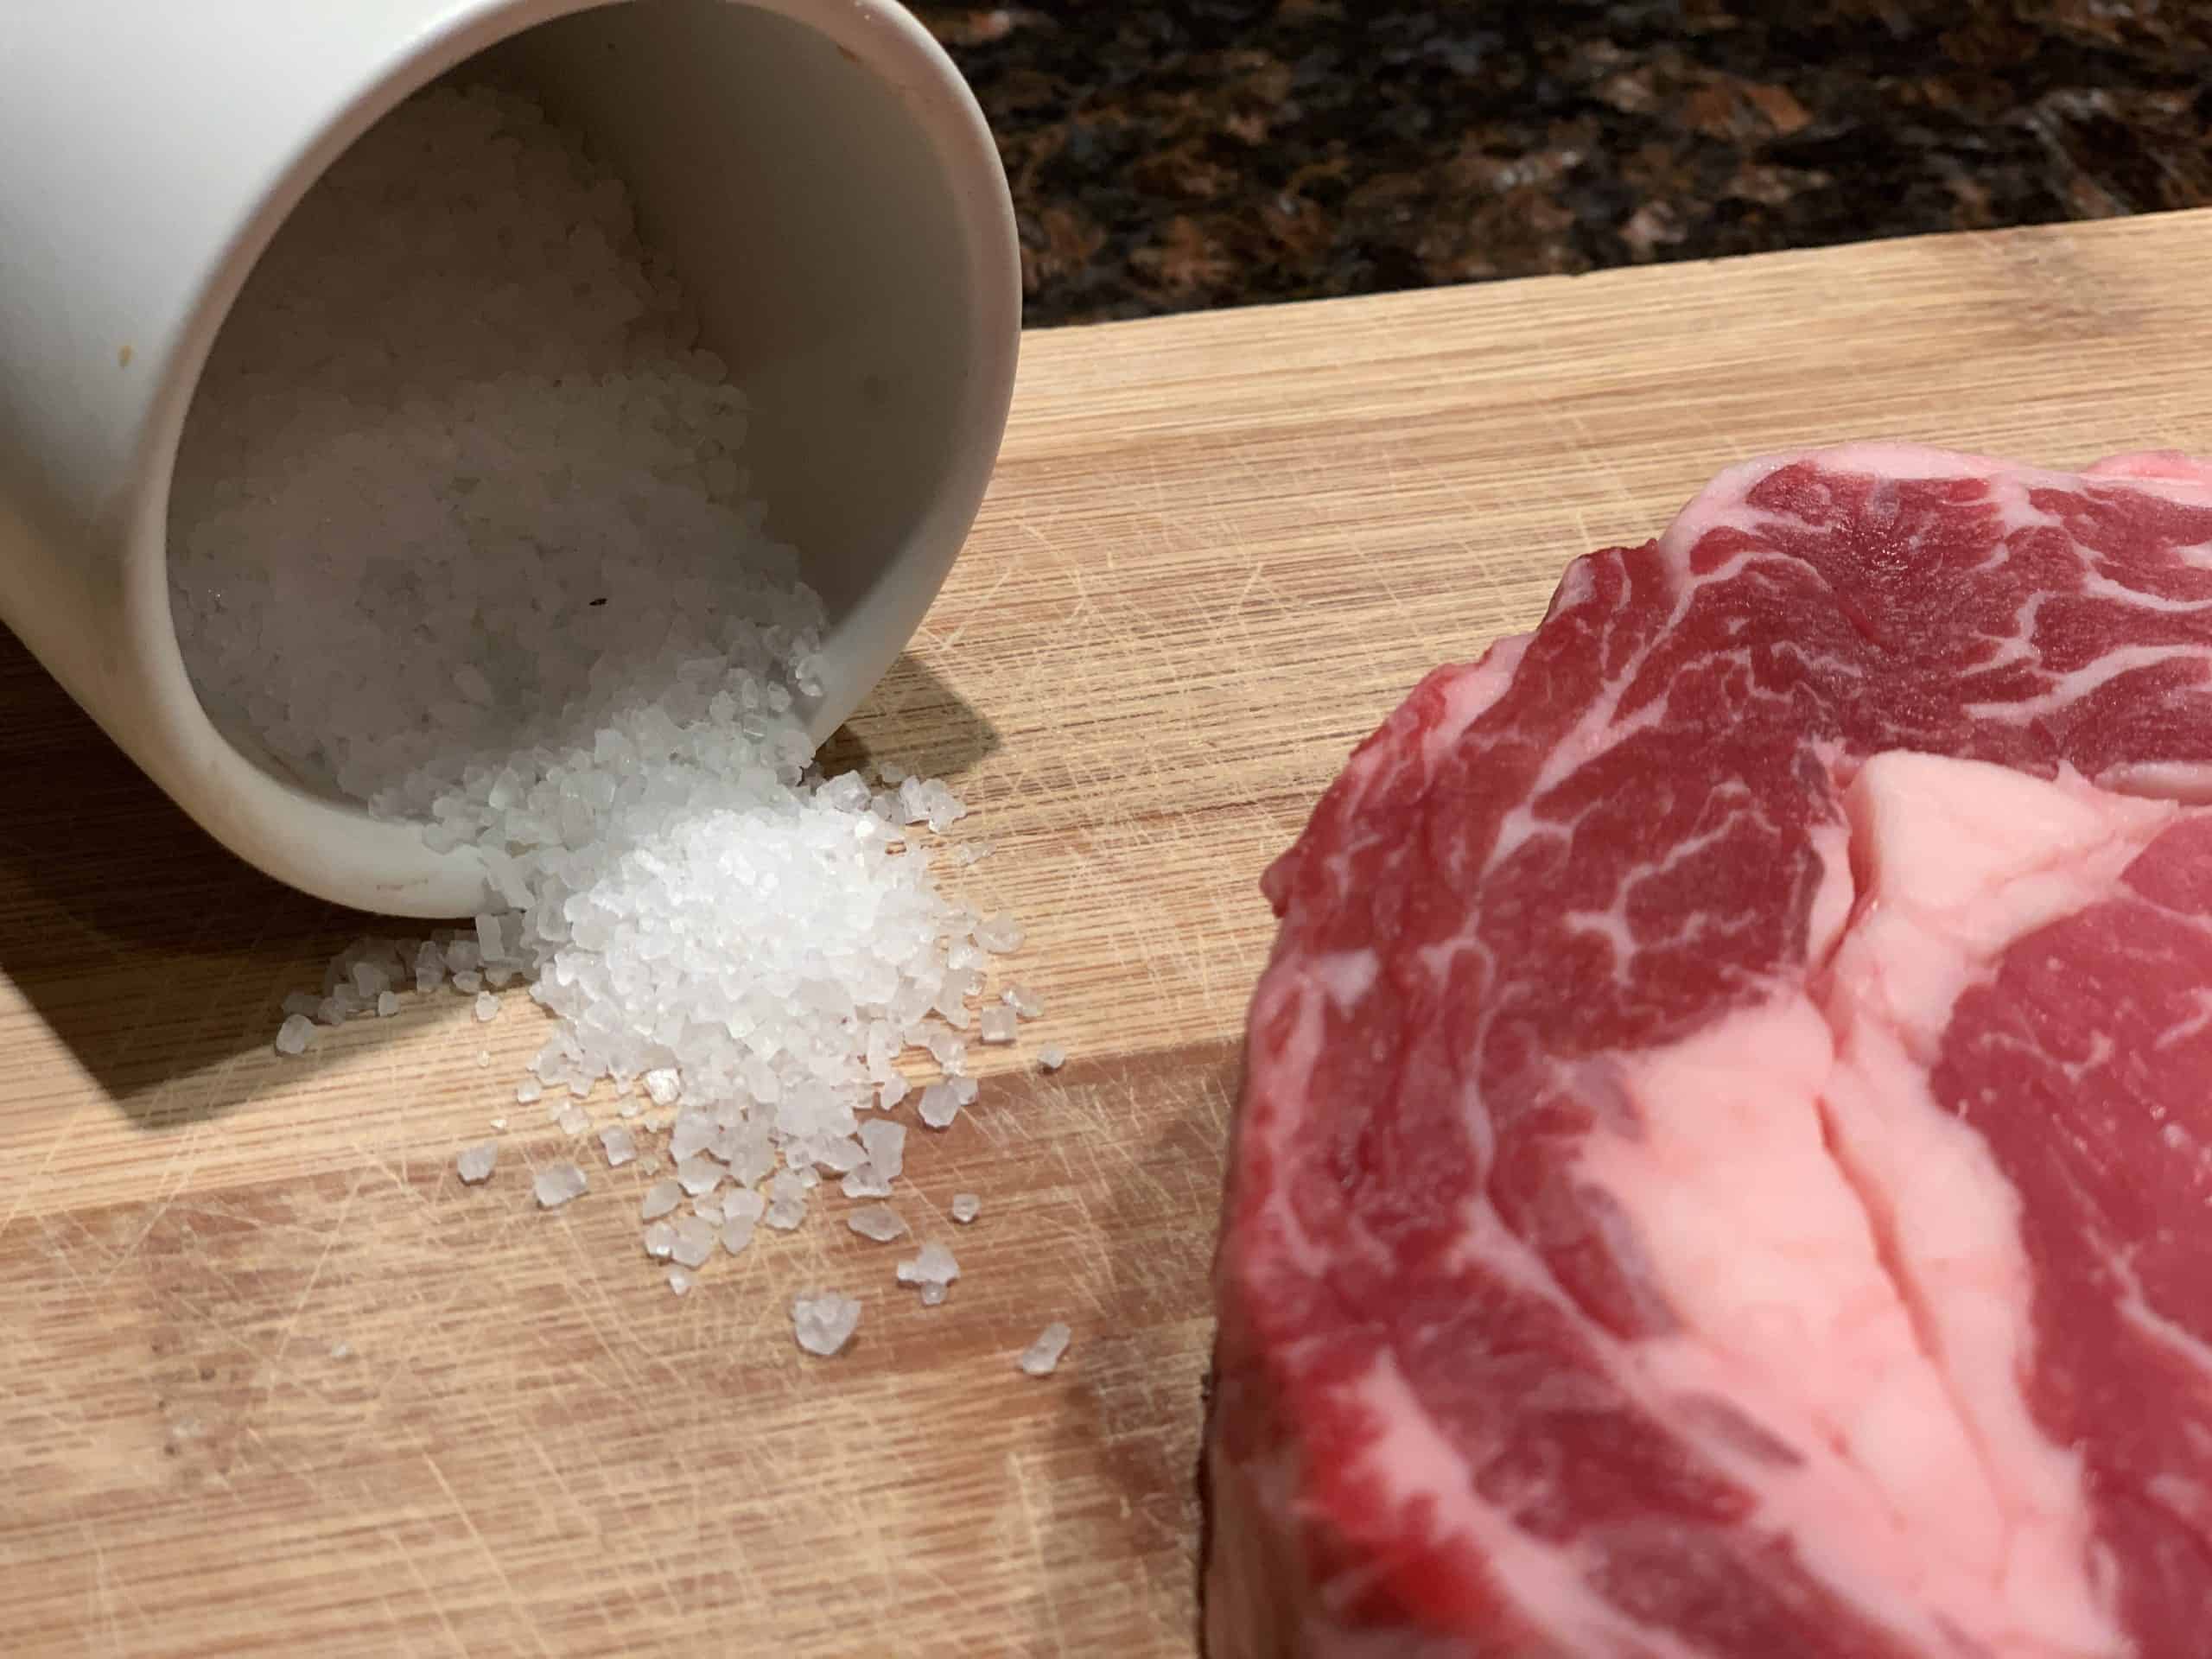
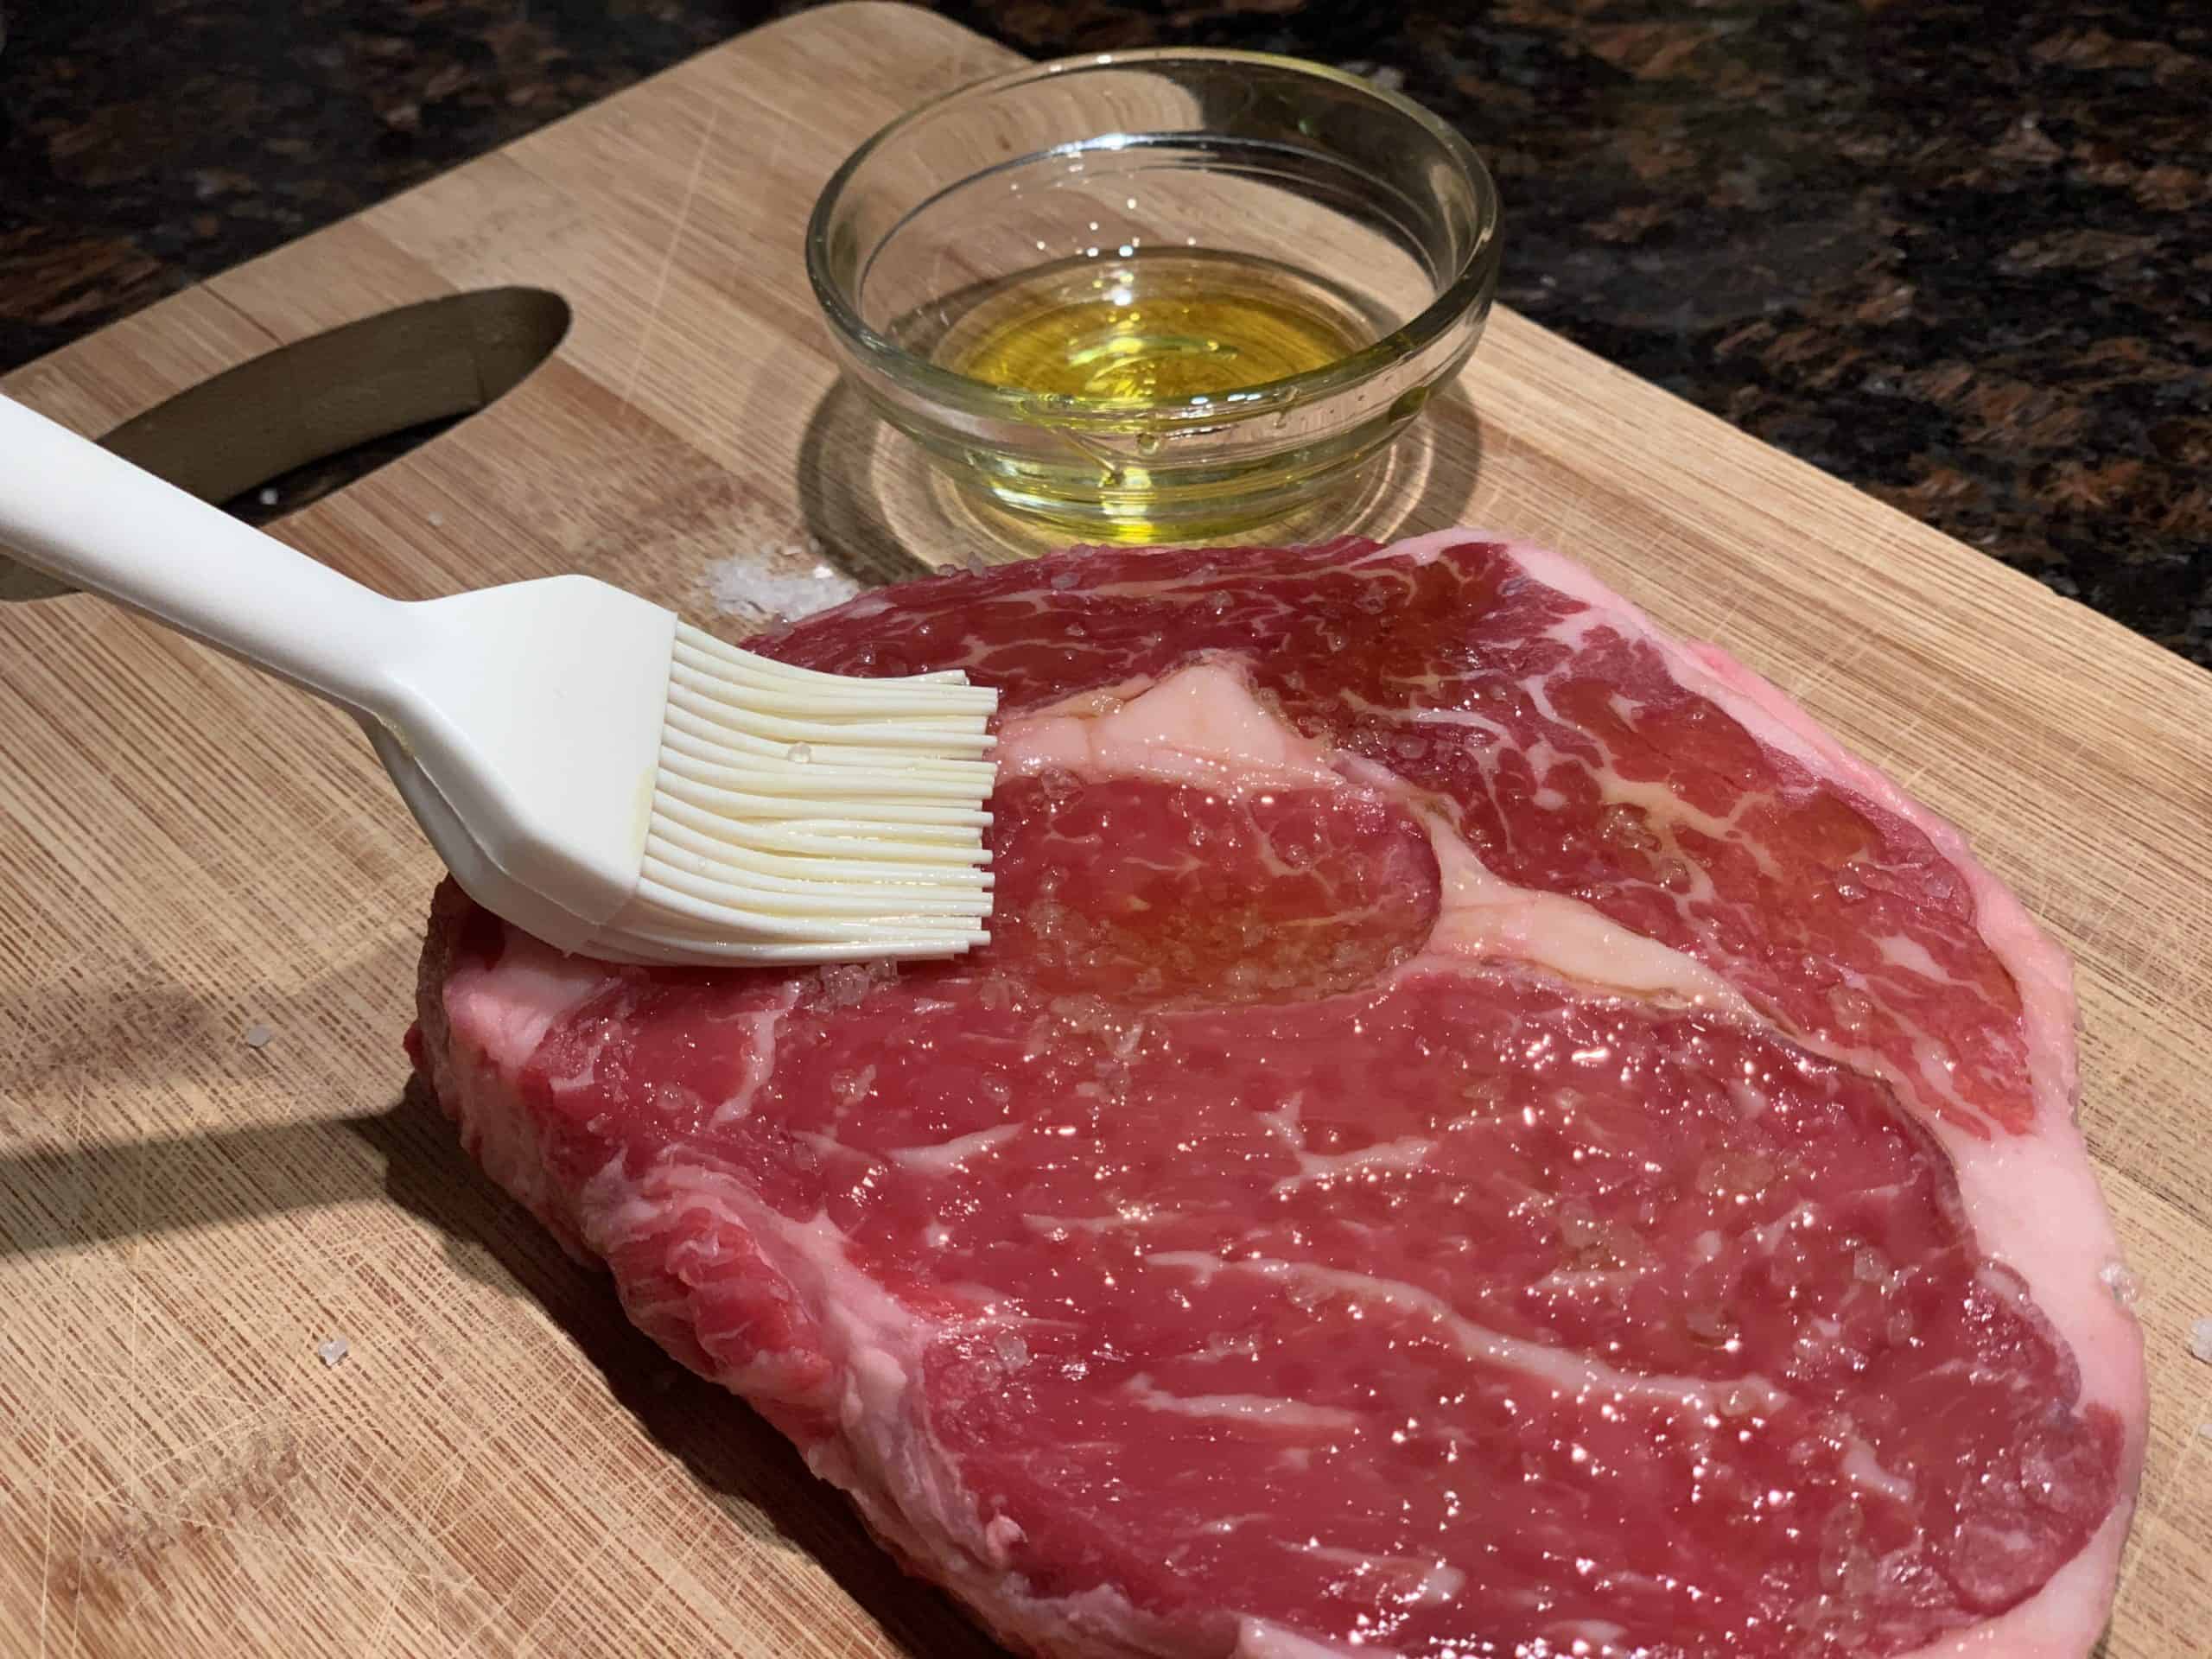
Once this is complete, you need to season it liberally with a good quality course kosher salt. Kosher salt does not penetrate beyond the top layer of the steak yet extracts a remarkable amount of flavor and taste. Thereafter, coat both sides of the steak and the pan with a generous amount of olive oil. The oil is the “glue” which will helps form that delicious crust. One ingredient we do NOT recommend during preparation is pepper. Black pepper applied during cooking at this temperature will burn and create a very bitter taste. We highly recommend adding pepper only after the steak is cooked.
Step 4 – Cooking a Perfect Cast Iron Skillet Steak
About 25 minutes prior to cooking, turn on your oven / stove and set the temperature to broil (~500 °F). Place your already oiled cast iron skillet in the oven while it’s heating up so that it’s sizzling hot when the steak hits the pan. If you don’t have a broiler, you can certainly cook it on a stove top though it will take a bit longer to achieve the temps necessary.
Next is our secret ingredient — clarified butter. To those that do not know, clarified butter (or ghee) is milk fat rendered from butter which separates the milk solids, proteins and water from the butterfat. What’s left is just the butterfat. Because clarified butter has no milk solids left, it can be stored indefinitely and has no shelf life. You’ll be able to find clarified butter in the Indian section of your local grocer.
Clarified butter has a significantly higher smoke temp (250 °C / 485 °F) than regular butter (163–190 °C or 325–374 °F) and is perfect for cooking at very high temperatures. Regular butter will burn and splatter much more due to the high water content. This is why we love clarified butter. It doesn’t burn off and perfectly emulsifies with the steak as it cooks.
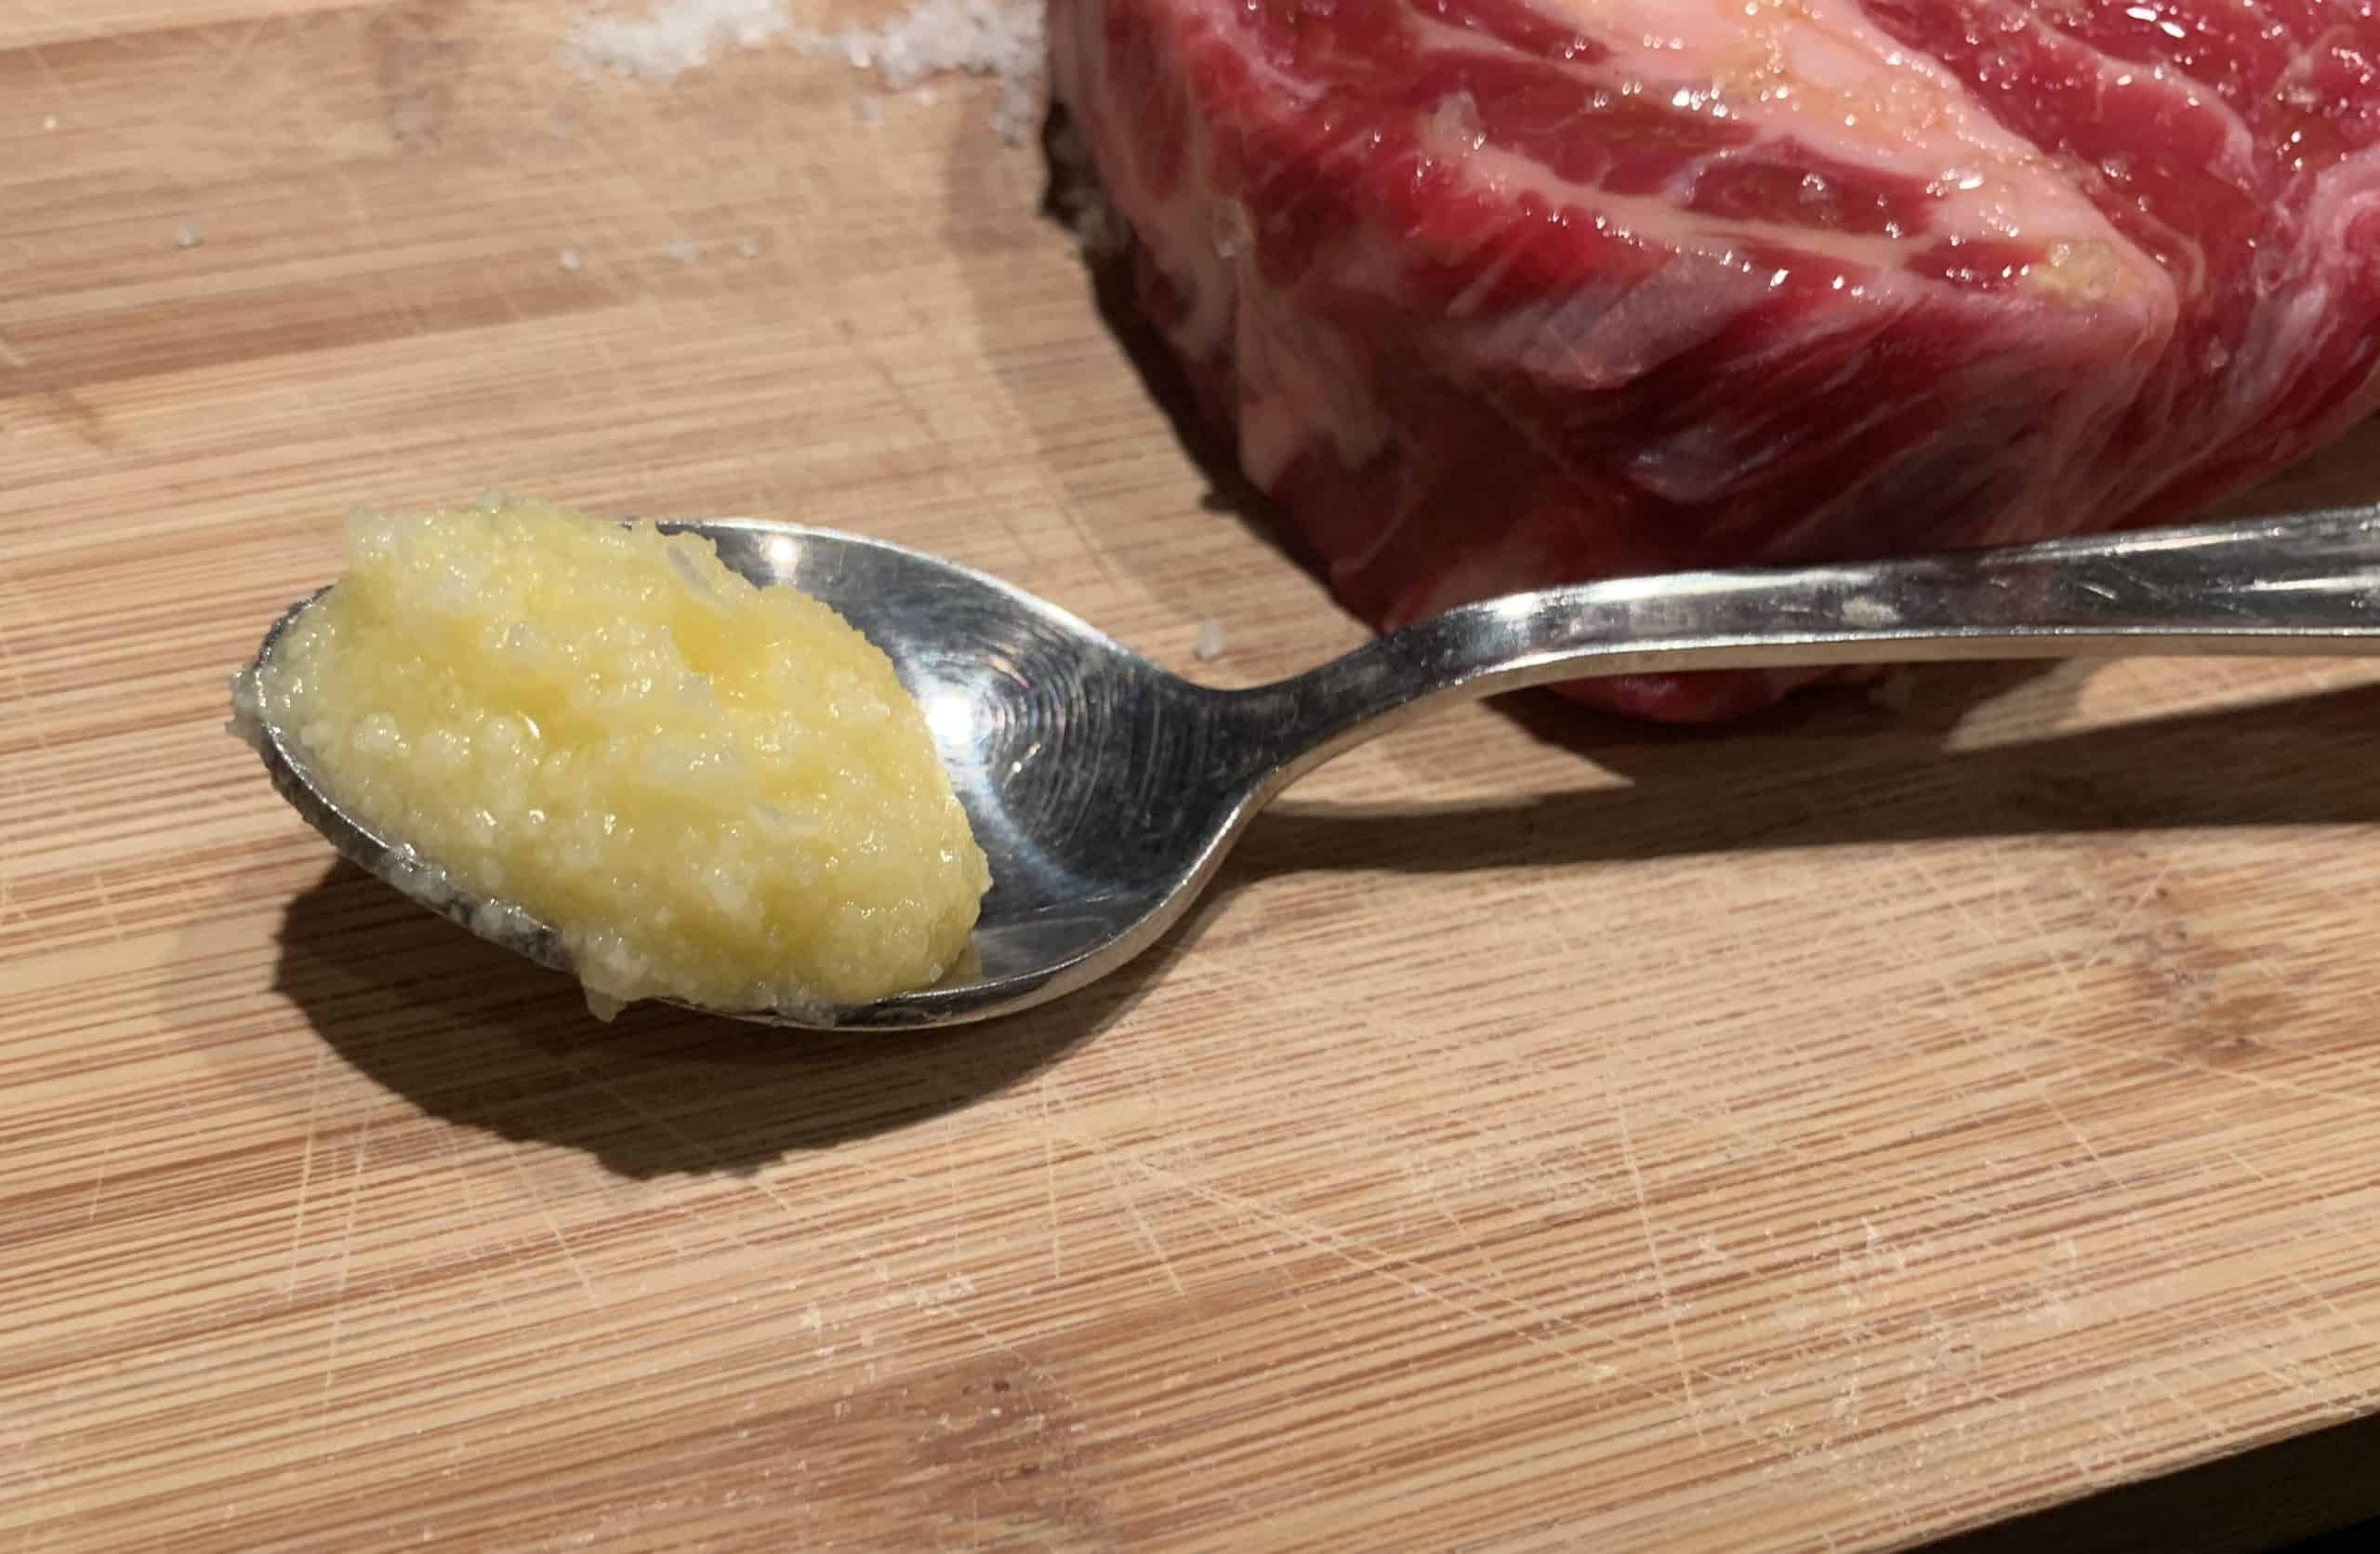
Place approximately 3/4 – 1 teaspoon of clarified butter on the pan just before you place the steak. You’ll notice that it liquifies instead of sizzling, like you’re accustomed to seeing with butter. Once the butter has liquified add the steak to the pan. If the temp is hot enough, you should hear a wonderful initial sizzle. Thereafter, close the stove door and set your timer for 3-4 minutes (for medium-rare temperature). After this amount of time has passed, use a pair of tongs and flip the steak delicately. You should see the beginnings of a nice crust / sear forming. Searing is a bit of an art and allowing the sear enough time to set is critical. Set the timer for another 2-3 minutes to complete the cook.

Step 5 – Finishing
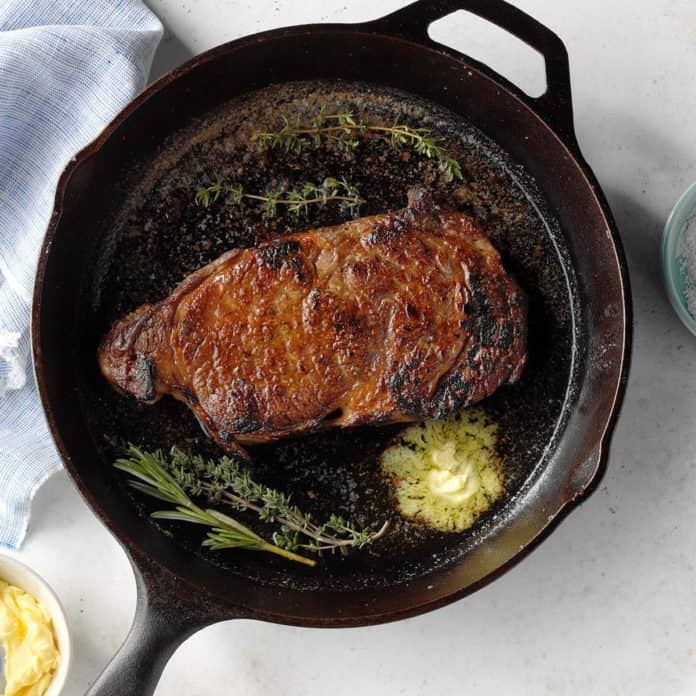
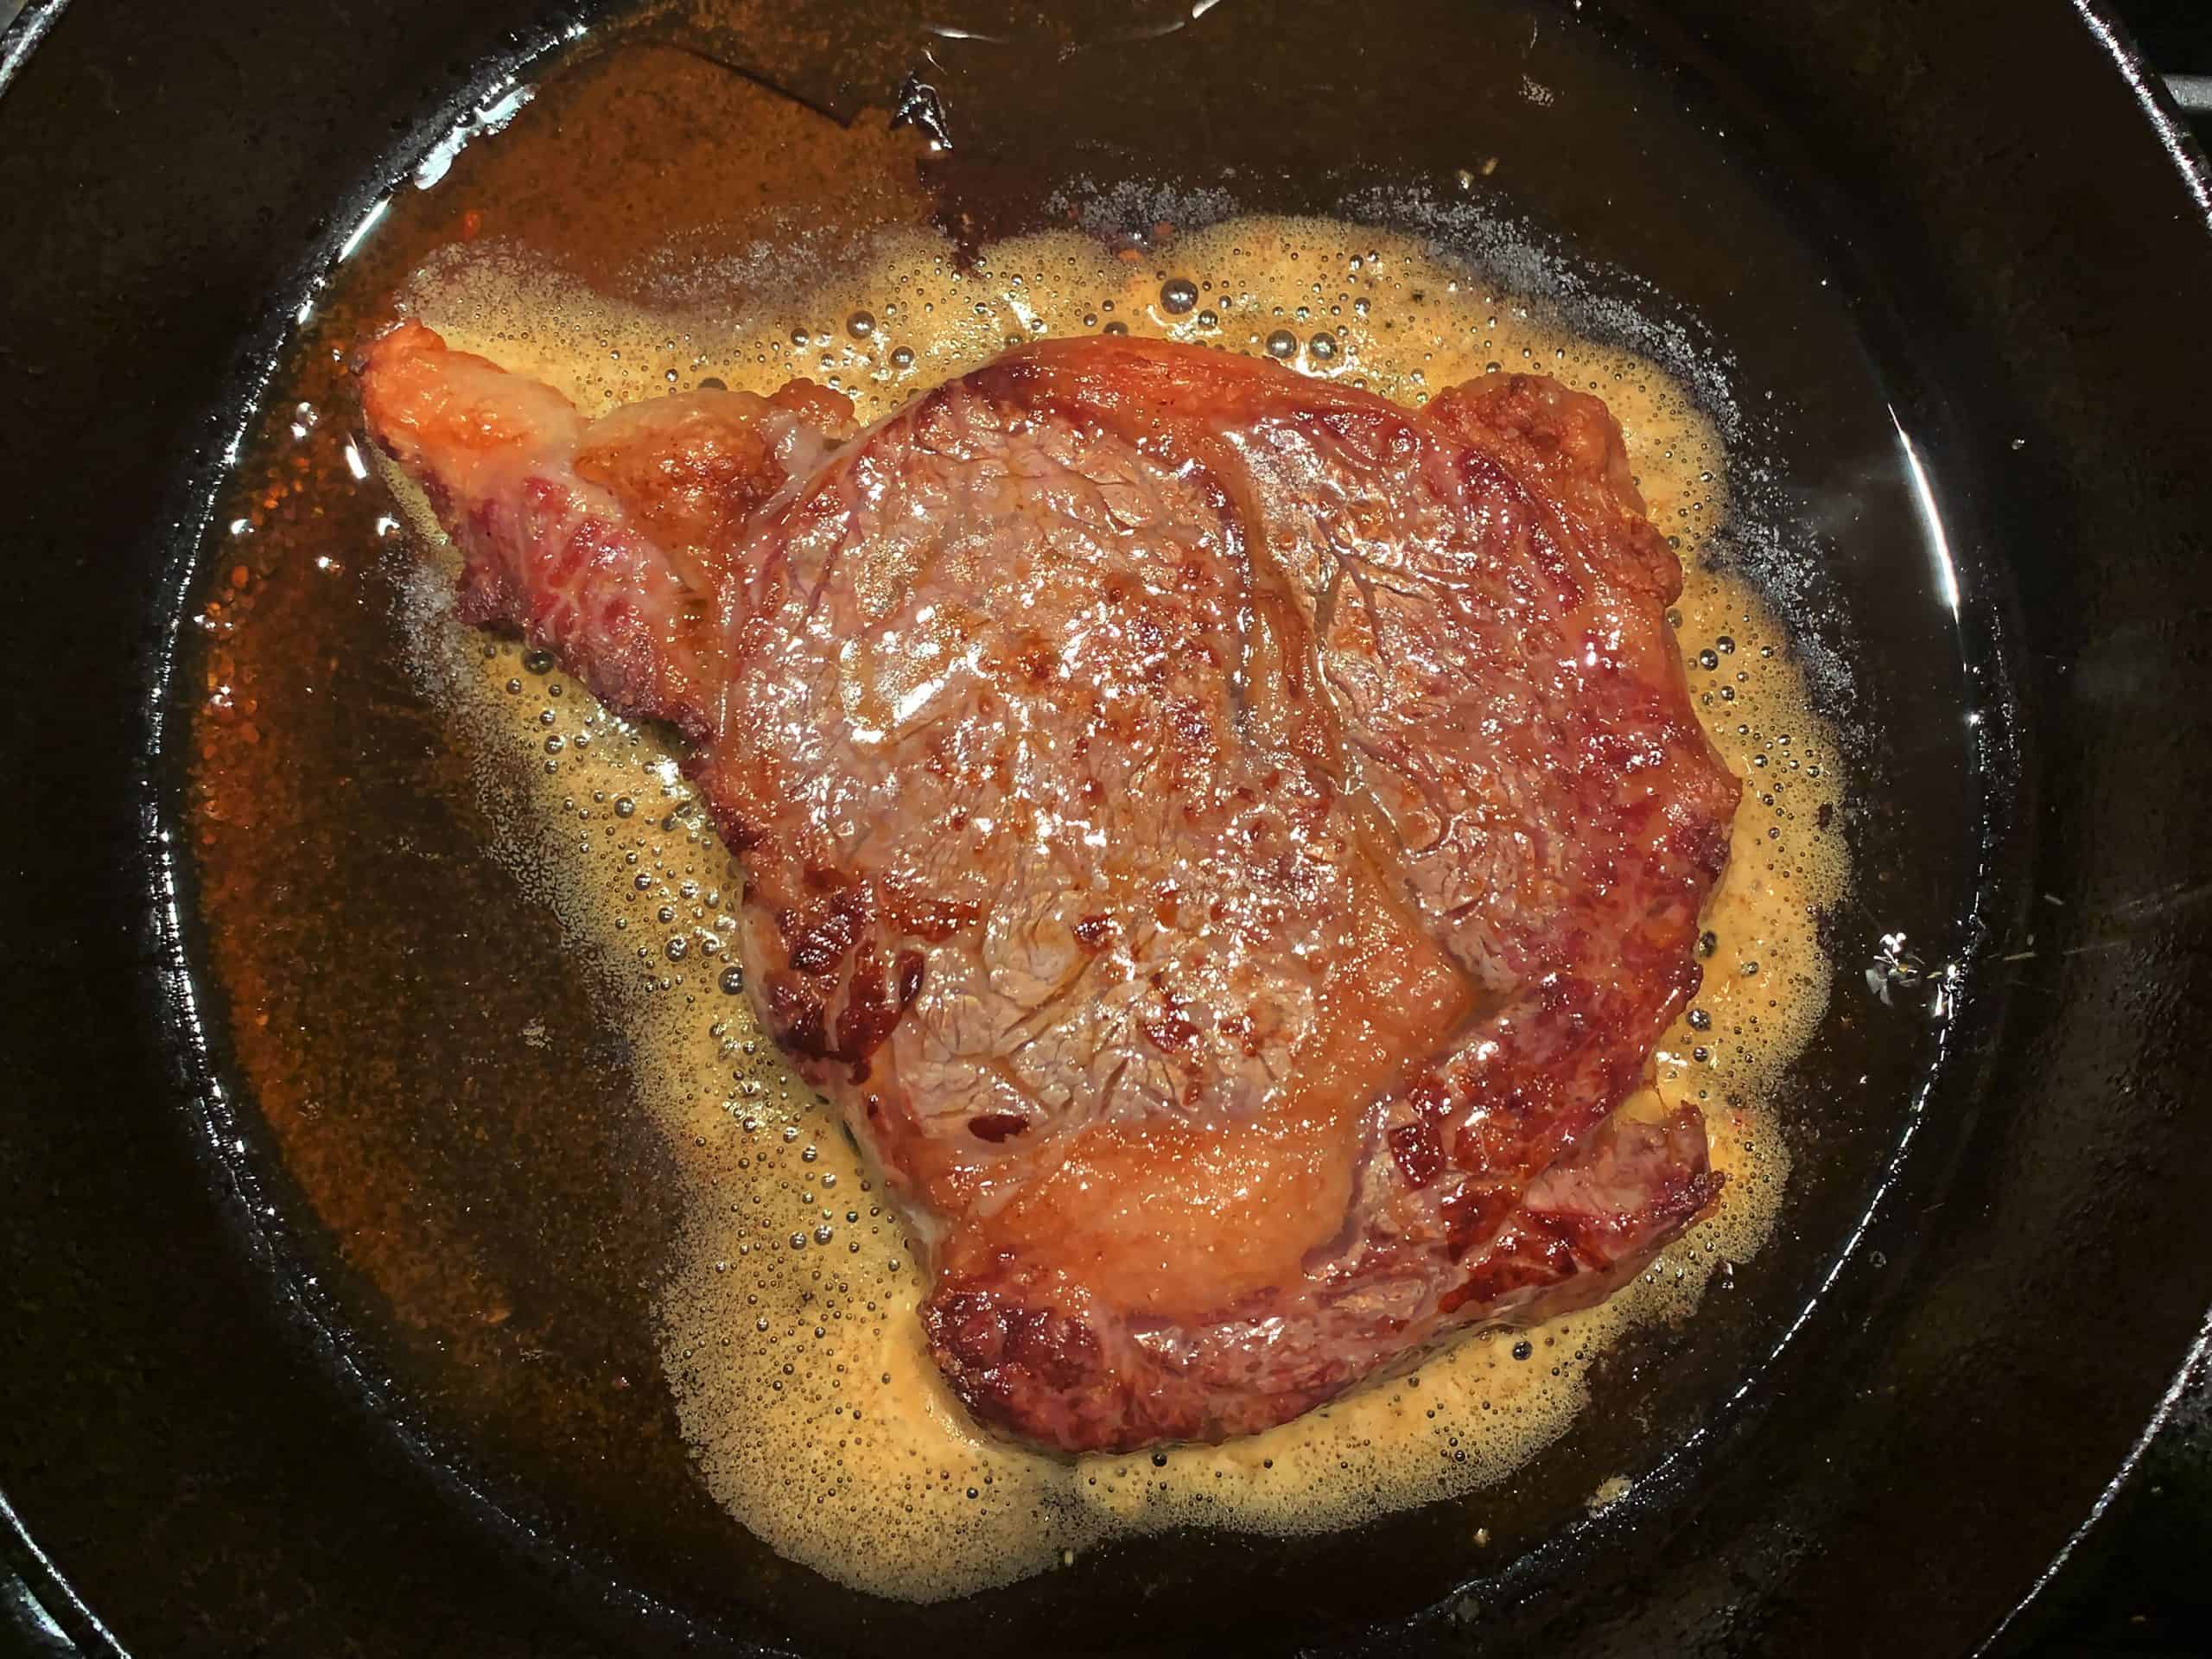
Once the steak has finished cooking, it should look something like the photo below. There should be a visible char / searing throughout along with a beautiful caramel brown finish. Additionally, you should notice a golden foam / liquid forming around the edges. This delicious mixture is an emulsified combination of the olive oil, clarified butter, and juices that have formed during the cooking process. You’ll want to preserve a decent amount of this liquid gold as a topping prior to serving.
Now that the steak has finished cooking you’ll want to let it sit for approximately ~5 minutes. The meat needs time to rest as the juices inside are still cooking. After 5 minutes have passed you’ll want to begin the final step … basting the steak.
Place the same pan on your burner (low heat) and place approximately a teaspoon of crushed garlic and finely chopped parsley in your pan. Tilt the pan at a 20-30 degree angle and begin ladling the liquid mixture over the steak continuously.
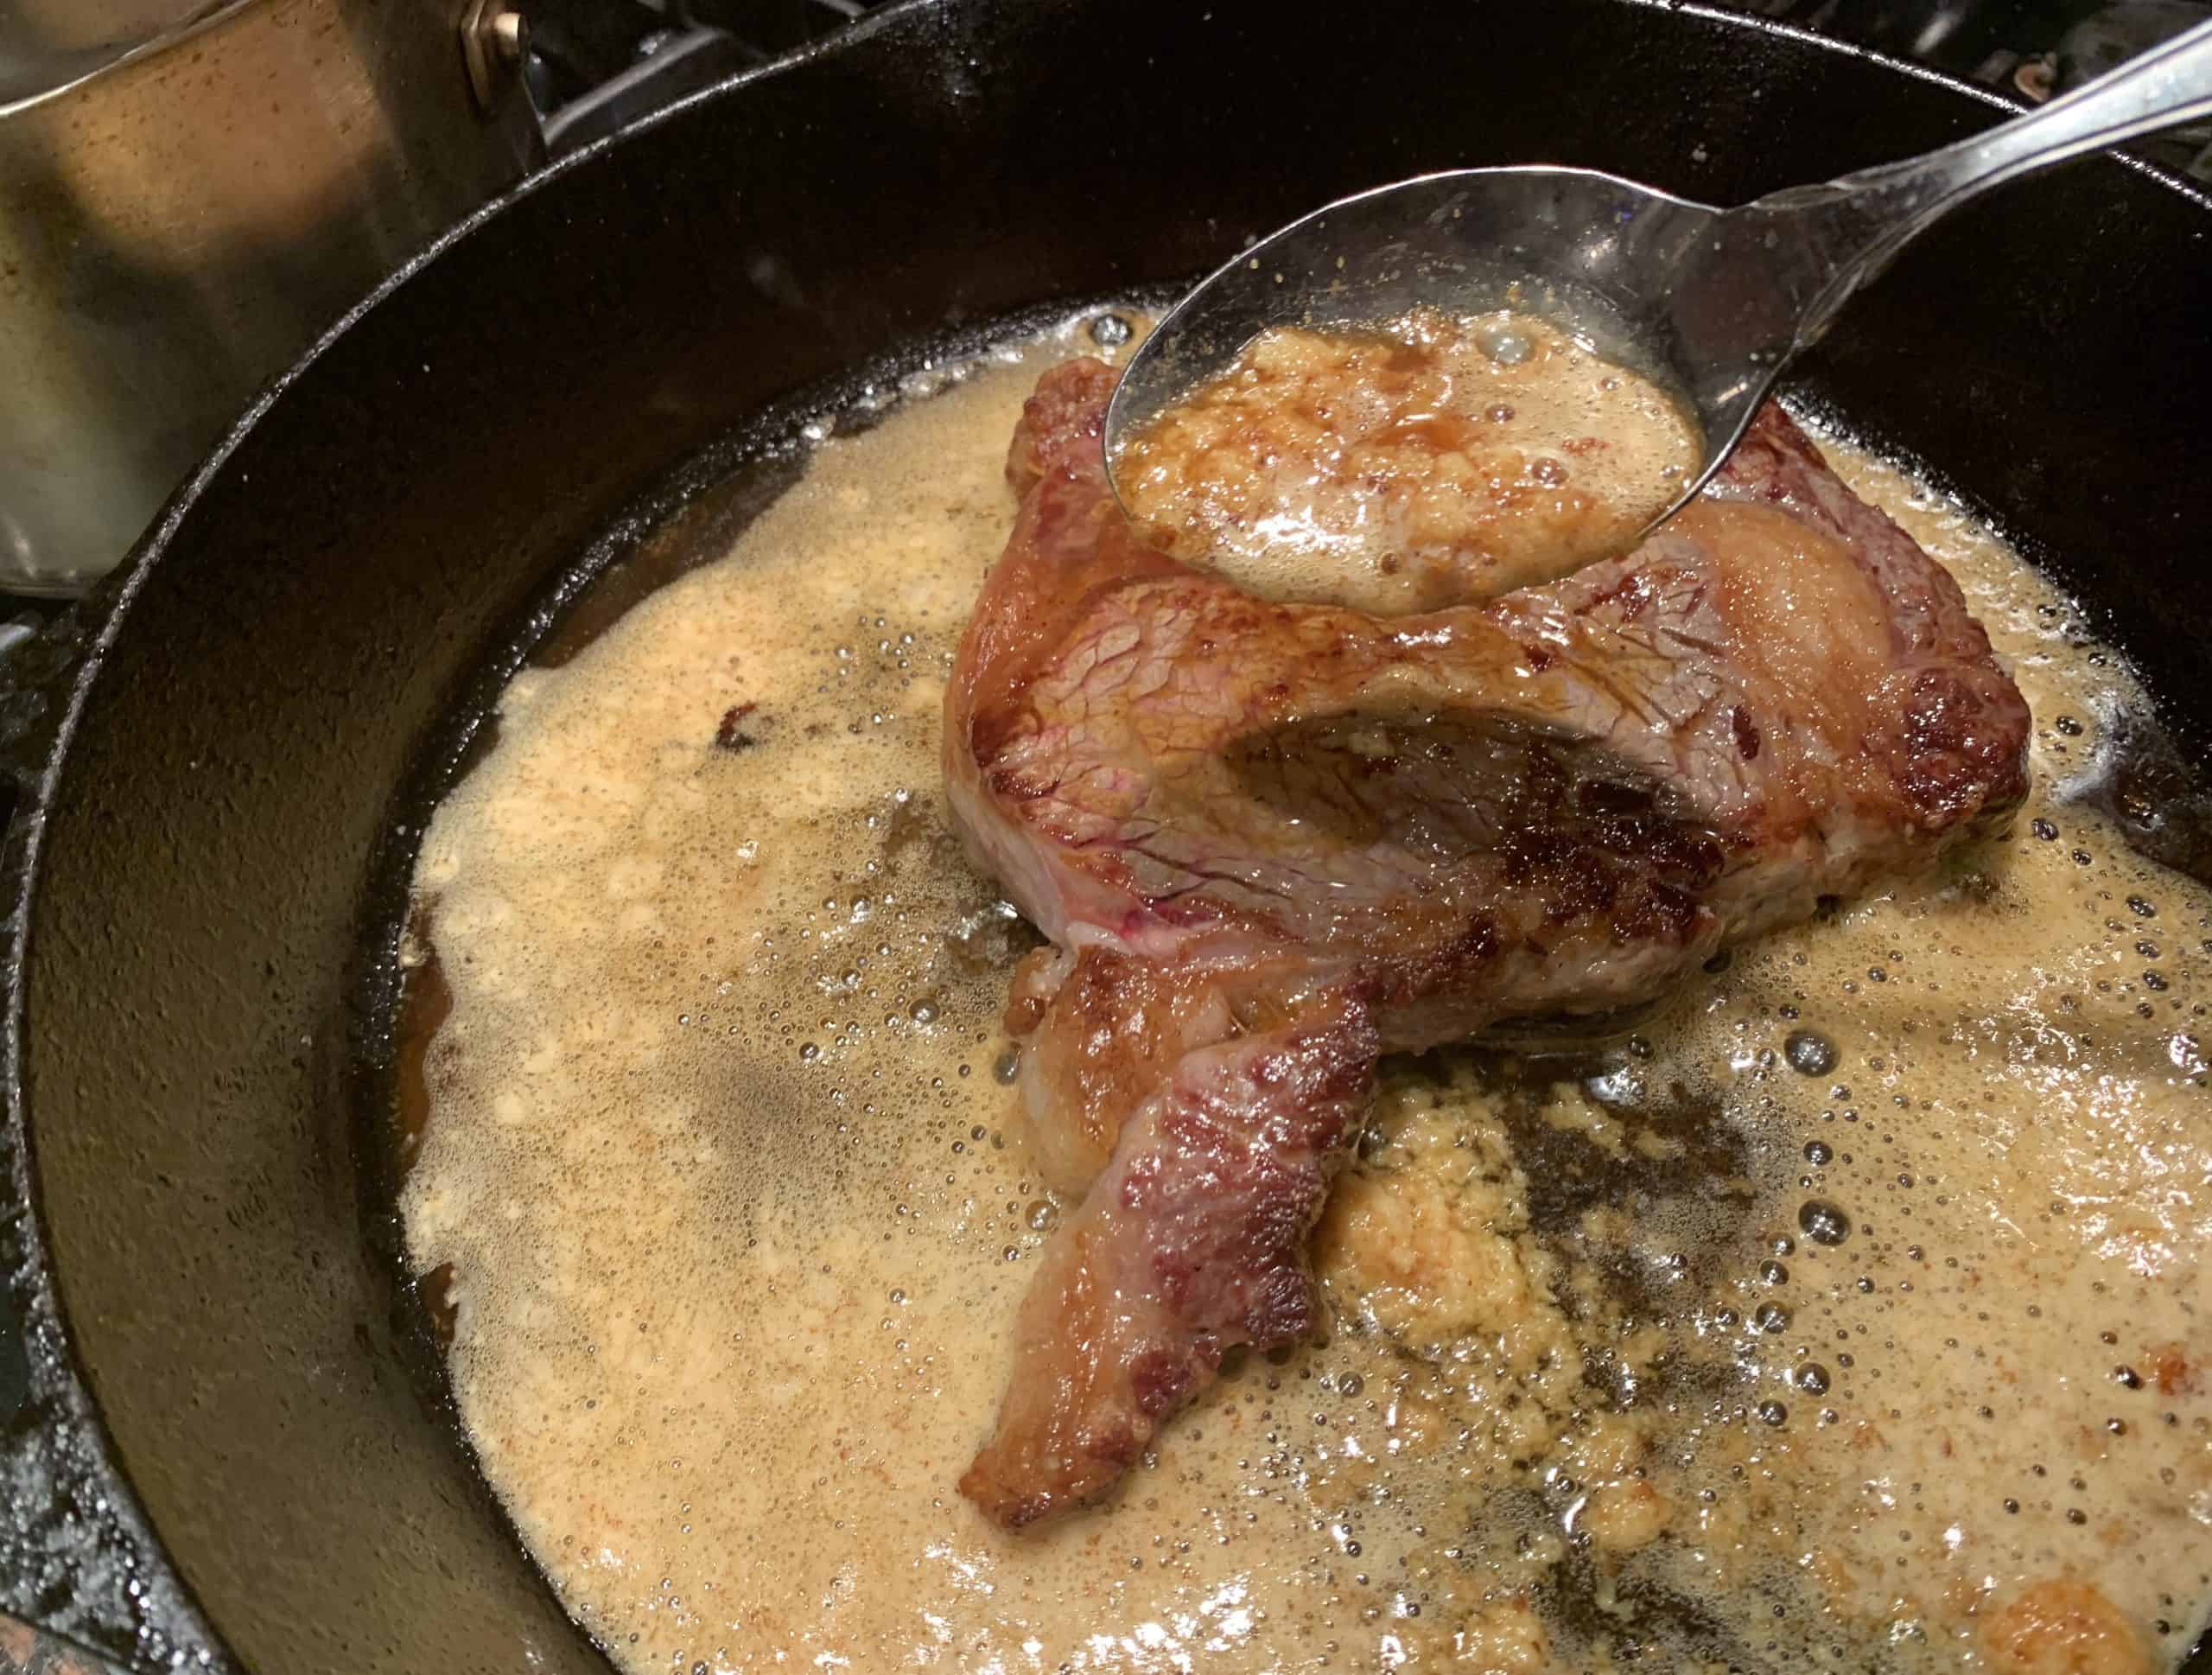
Basting adds a wonderful frothy, liquid glaze over the seared, charred surface — giving you a perfect final layer of flavor. This process should take no more than 2 minutes. In addition to the above ingredients you can add fresh thyme or parsley to add additional flavor.
Step 6 – Plating & Serving
Using a pair of tongs, place the steak on a cutting board. We then top the steak with more fresh parsley, fresh ground black pepper, crispy onion flakes, and a bit more of the basting solution from the pan.

Now you’re ready to serve.
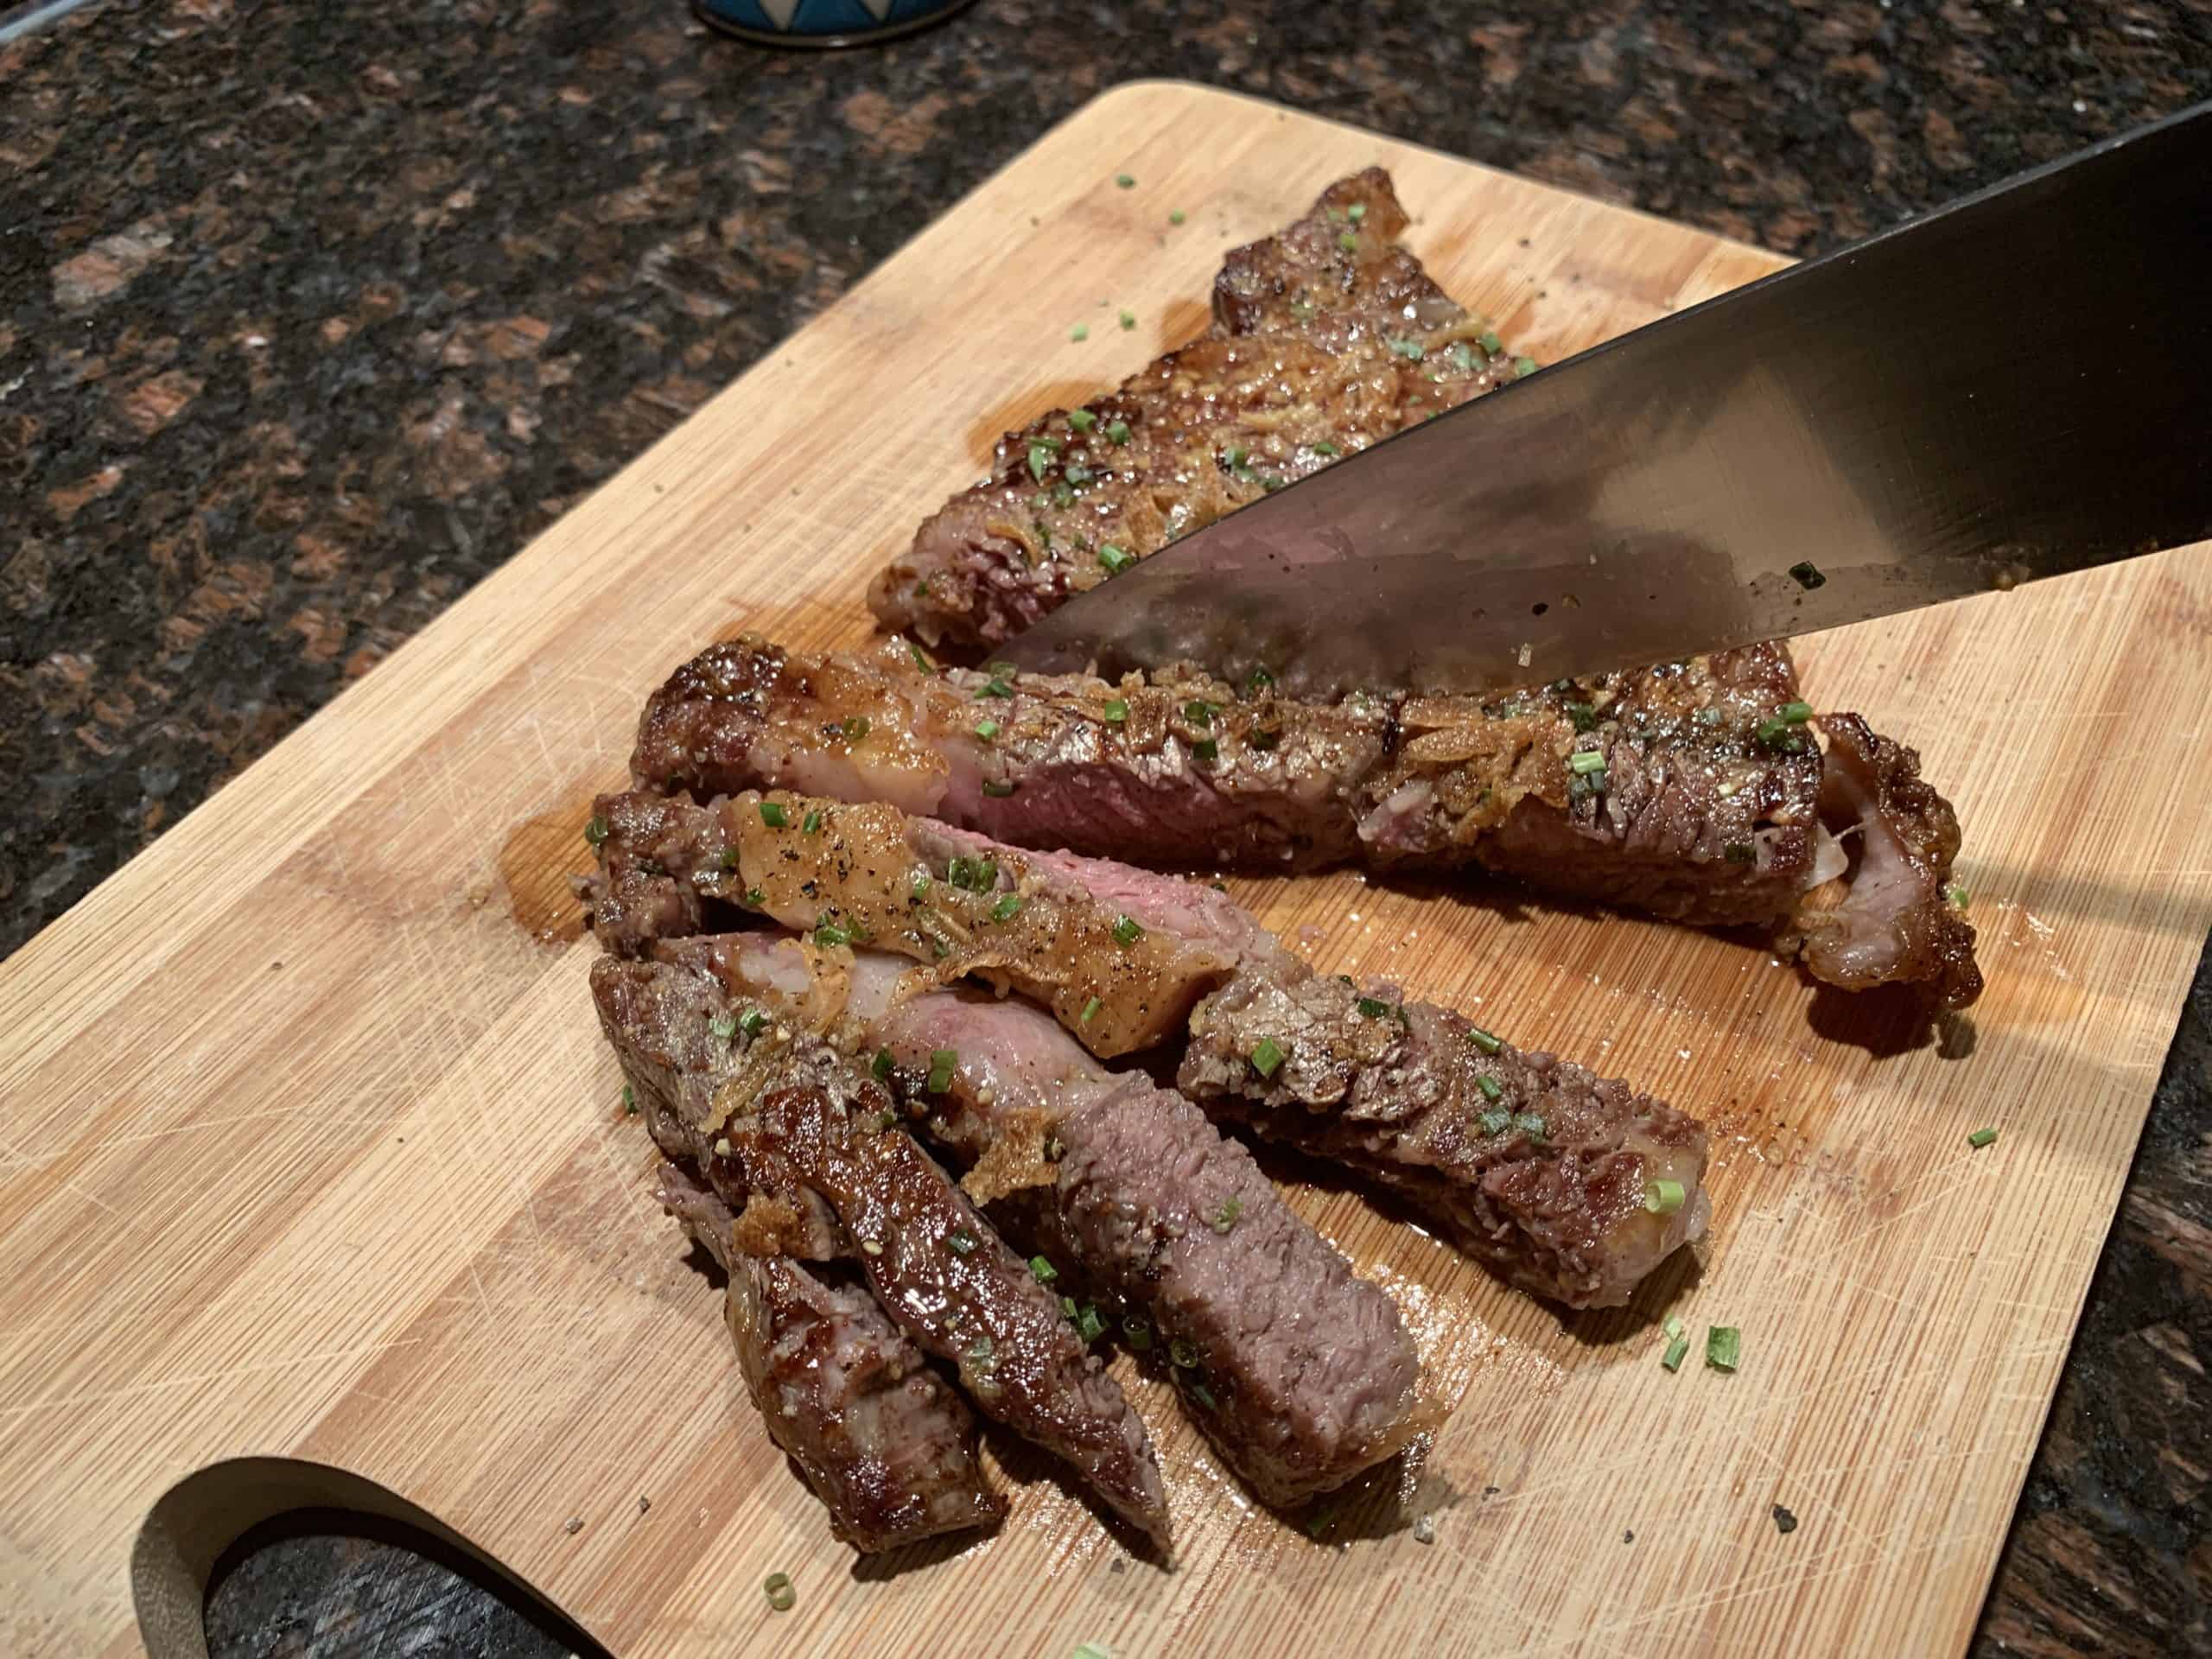
There are a number of different ways to plate and serve your steak. We’ve always loved a tapas presentation, i.e. slicing it into individual slices for group service. Take a sharp butchers knife and begin slicing the steak into 1/2″ slices against the grain. If your searing / char was done correctly, you’ll hear a low audible crunch as you slice through each piece. A decent sized ribeye or sirloing should provide ~9-12 sliced portions for serving. A fillet mignon will likely provide about half of this in terms of servings.
And that’s it! If you’ve followed our instructions, you’ll have cooked a perfect cast iron skillet steak that exhibits all the same characteristics that you’d find at a fine steakhouse. The inner part of the steak should melt in your mouth and the outer surface should have a perfectly charred, crispy finish. A hint of the buttery, basted glaze should also hit your tastebuds. Once you’ve perfected this technique it will be impossible to go back to eating steak any other way!

Check out some of our other Popular Guides…
The Men’s White Dress Shirt – A Definitive Buying Guide on our Favorites
Necktie Knots – A Definitive Guide to Wearing the Proper Knot
Untucked vs. Tucked In – A Guide to Dress Shirt Length